Health Library
Head to Toe Assessment for OSCEs and Clinical Exams
January 12, 2026
Question on this topic? Get an instant answer from August.
What Is a Head to Toe Assessment and When Is It Performed?
A head to toe assessment is exactly what it sounds like: a systematic, comprehensive health evaluation of all major body systems, starting from the head and moving logically down to the toes. Think of it as creating a complete health snapshot of your patient at a specific moment in time. This initial snapshot serves as a baseline, allowing you to quickly spot any changes subtle or significant in their condition later on.
It’s crucial to differentiate this from a focused assessment. While a complete physical assessment covers everything, a focused assessment hones in on a specific problem. For instance, if a patient reports sudden shortness of breath, you’d perform a focused respiratory assessment immediately, rather than starting by checking their pupillary response.
So, when do you perform this all encompassing examination?
- On Admission: When a patient is first admitted to a unit or facility.
- At the Start of a Shift: To establish a baseline for your shift and compare it to the previous nurse’s findings.
- Following a Change in Patient Condition: If a patient’s status changes unexpectedly.
- During Annual Physicals: In outpatient or primary care settings.
- Before and After Surgery or Invasive Procedures: To monitor for any changes.
This structured approach ensures nothing is missed and provides a solid foundation for your nursing care plan. It’s a key part of every nursing assessment guide.
How to Prepare for Your Assessment
A smooth assessment starts before you even touch the patient. Preparation is key to ensuring accuracy, patient comfort, and your own efficiency. Knowing how to conduct a head to toe assessment professionally begins here.
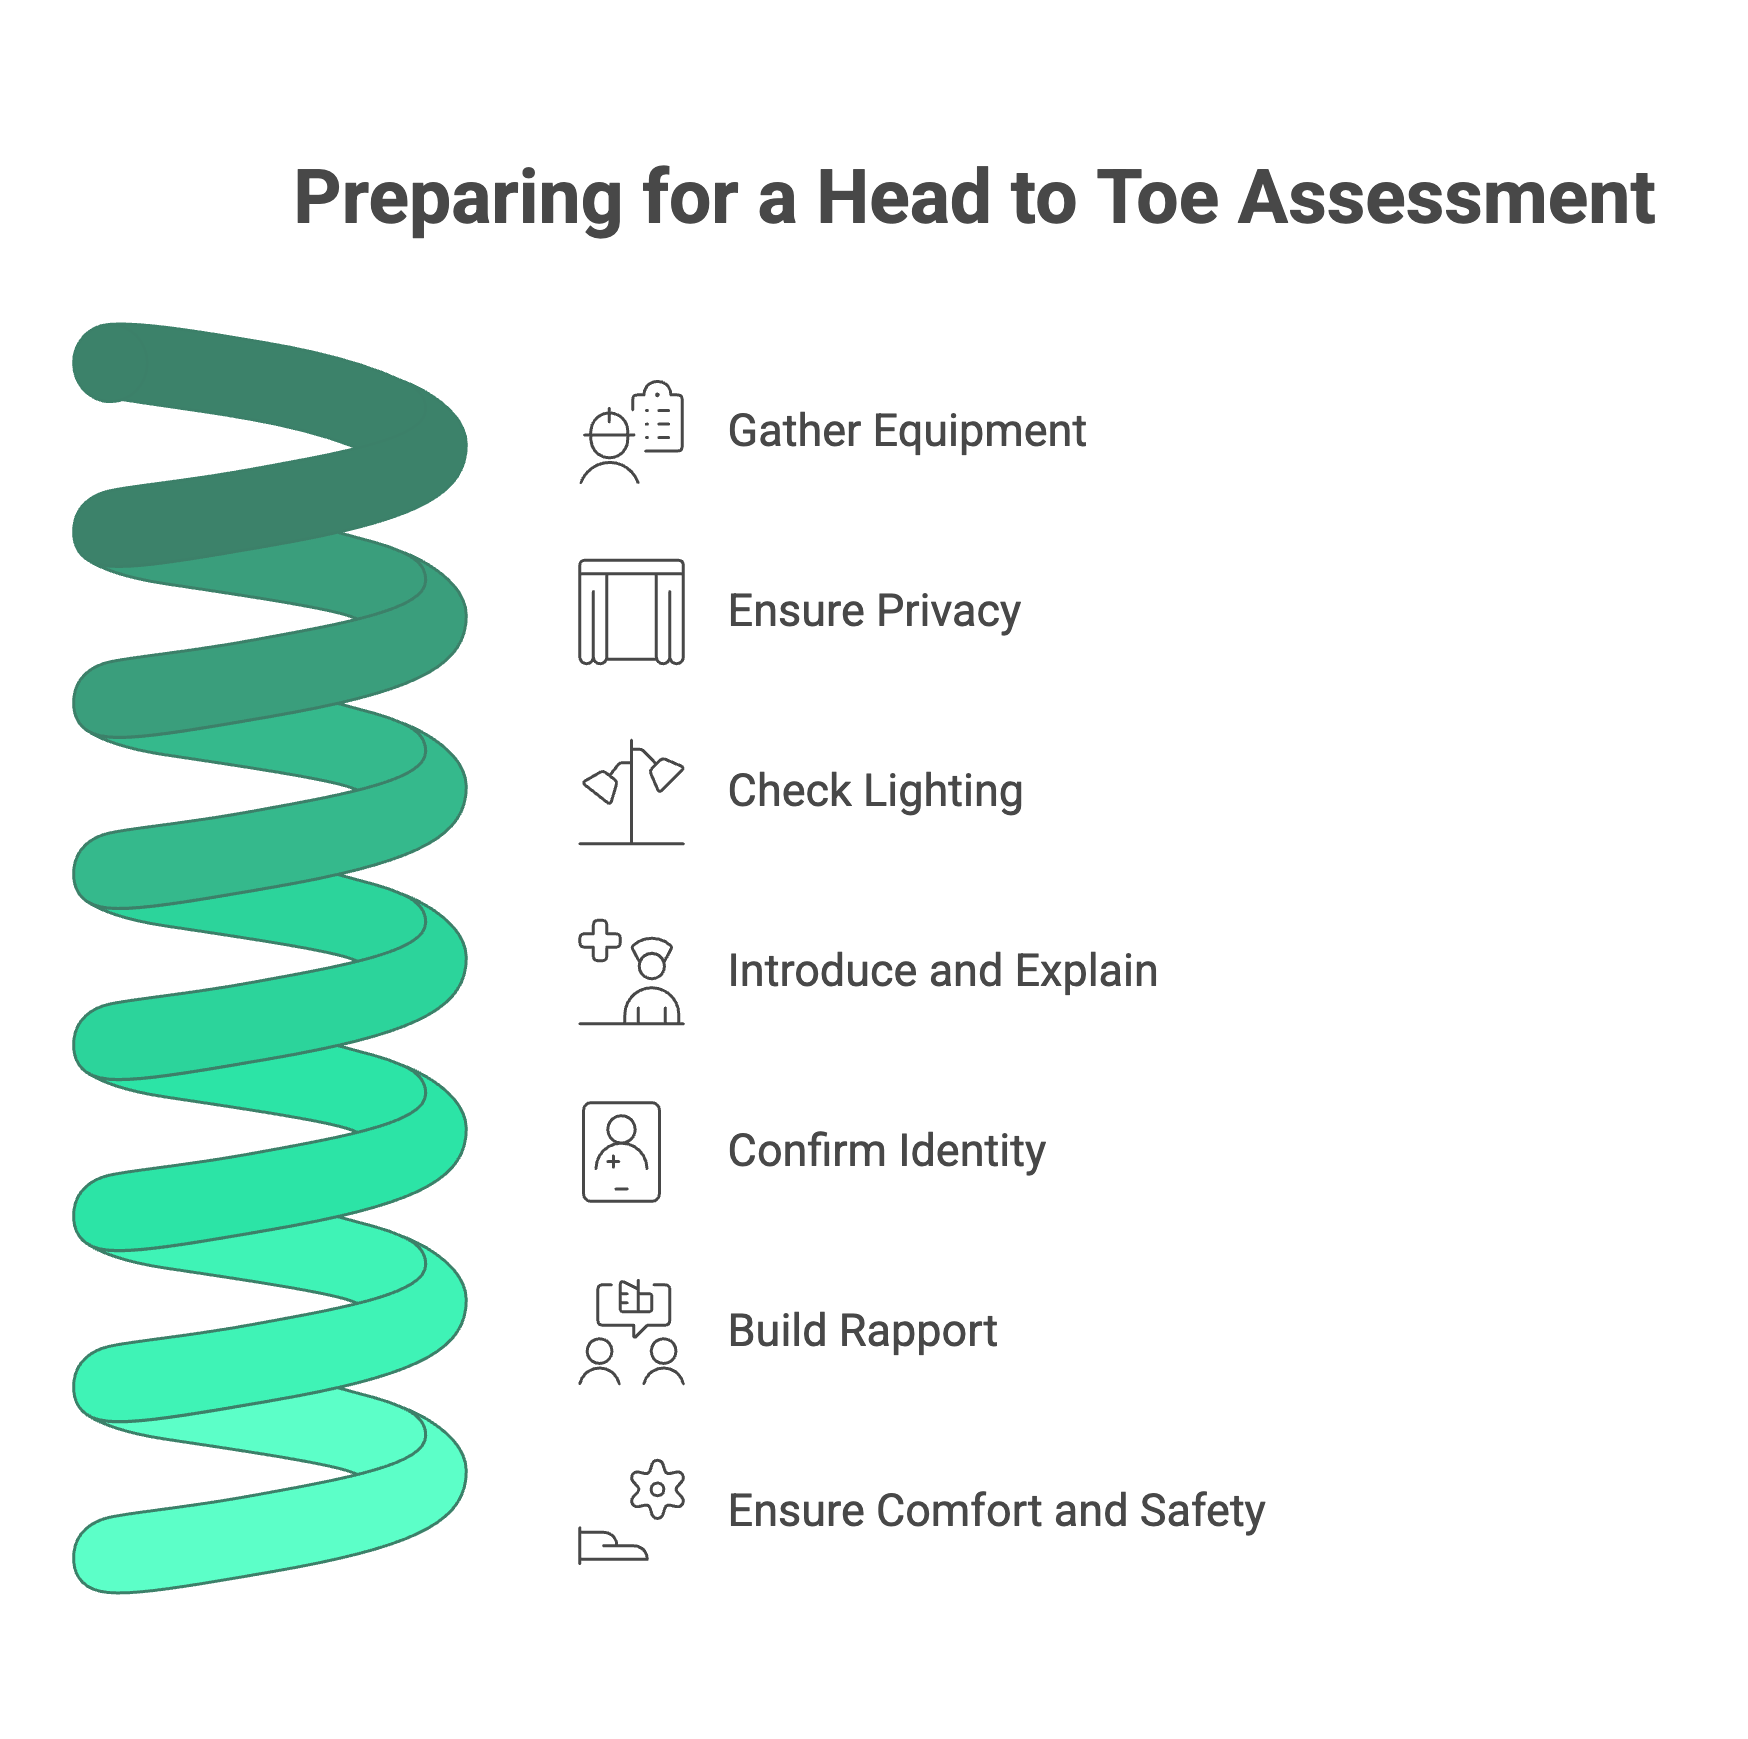
Gather Your Equipment
Walking back and forth for forgotten supplies wastes time and can make you appear disorganized. Before you enter the room, gather your tools of the trade.
Your Essential Head to Toe Assessment Checklist:
- Stethoscope: With both a diaphragm and a bell.
- Penlight: For assessing pupils, mouth, and throat.
- Gloves: Always practice universal precautions.
- Watch with a Second Hand: For counting heart rate, respiratory rate, and timing pulses.
- Blood Pressure Cuff (Sphygmomanometer): Ensure you have the correct size for your patient.
- Thermometer: To check temperature.
- Pulse Oximeter: To measure oxygen saturation.
- Tongue Depressor
- Hand Sanitizer or Soap and Water: Hand hygiene is non-negotiable. source
- Your Brain and Senses: Your most important tools!
Prepare the Environment & Patient
- Ensure Privacy: Close the door and pull the curtain. Your patient is in a vulnerable position, and respecting their dignity is paramount.
- Check the Lighting: Make sure the room is well-lit so you don’t miss subtle visual cues like skin pallor or rashes.
- Introduce Yourself and Explain: Start with a warm introduction. “Hi, I’m [Your Name], and I’ll be your nurse today. I’m going to perform a nursing head to toe assessment, which is a standard check to get a good understanding of your overall health. It will involve me looking, listening, and feeling from your head down to your toes. Do you have any questions before we begin?”
- Confirm Patient Identity: Always verify the patient’s identity using at least two identifiers, such as their name and date of birth, and check it against their wristband.
- Build Rapport: Ask them how they are feeling. A little conversation goes a long way in making the patient feel comfortable and more like a partner in their own care.
- Ensure Comfort and Safety: Raise the bed to a comfortable working height for you (to save your back!) and lower the side rail on the side you’re working on.
The 4 Core Physical Examination Techniques
Throughout the assessment, you’ll be using four core physical examination techniques. Understanding what each one is and when to use it is fundamental.
- Inspection: This is simply a concentrated act of looking and smelling. It starts the moment you walk into the room. You’ll inspect for skin color, rashes, symmetry, swelling, and any signs of distress.
- Palpation: Using your sense of touch. You’ll use your fingertips to feel for texture, moisture, and masses, and the back of your hand to assess temperature. Palpation can be light (for tenderness) or deep (for organs), but always start light.
- Percussion: This involves tapping the patient’s skin with your fingers to produce sound vibrations. The sounds can tell you if the underlying tissue is dense, hollow, or fluid-filled. It’s a more advanced skill often used in an abdominal assessment.
- Auscultation: Listening to internal body sounds with your stethoscope. This is how you’ll assess heart, lung, and bowel sounds.
The Complete Step by Step Head to Toe Assessment Guide
Alright, let’s put it all together. This is the main event. Remember to explain what you’re doing as you go. It demystifies the process for the patient and keeps them engaged.
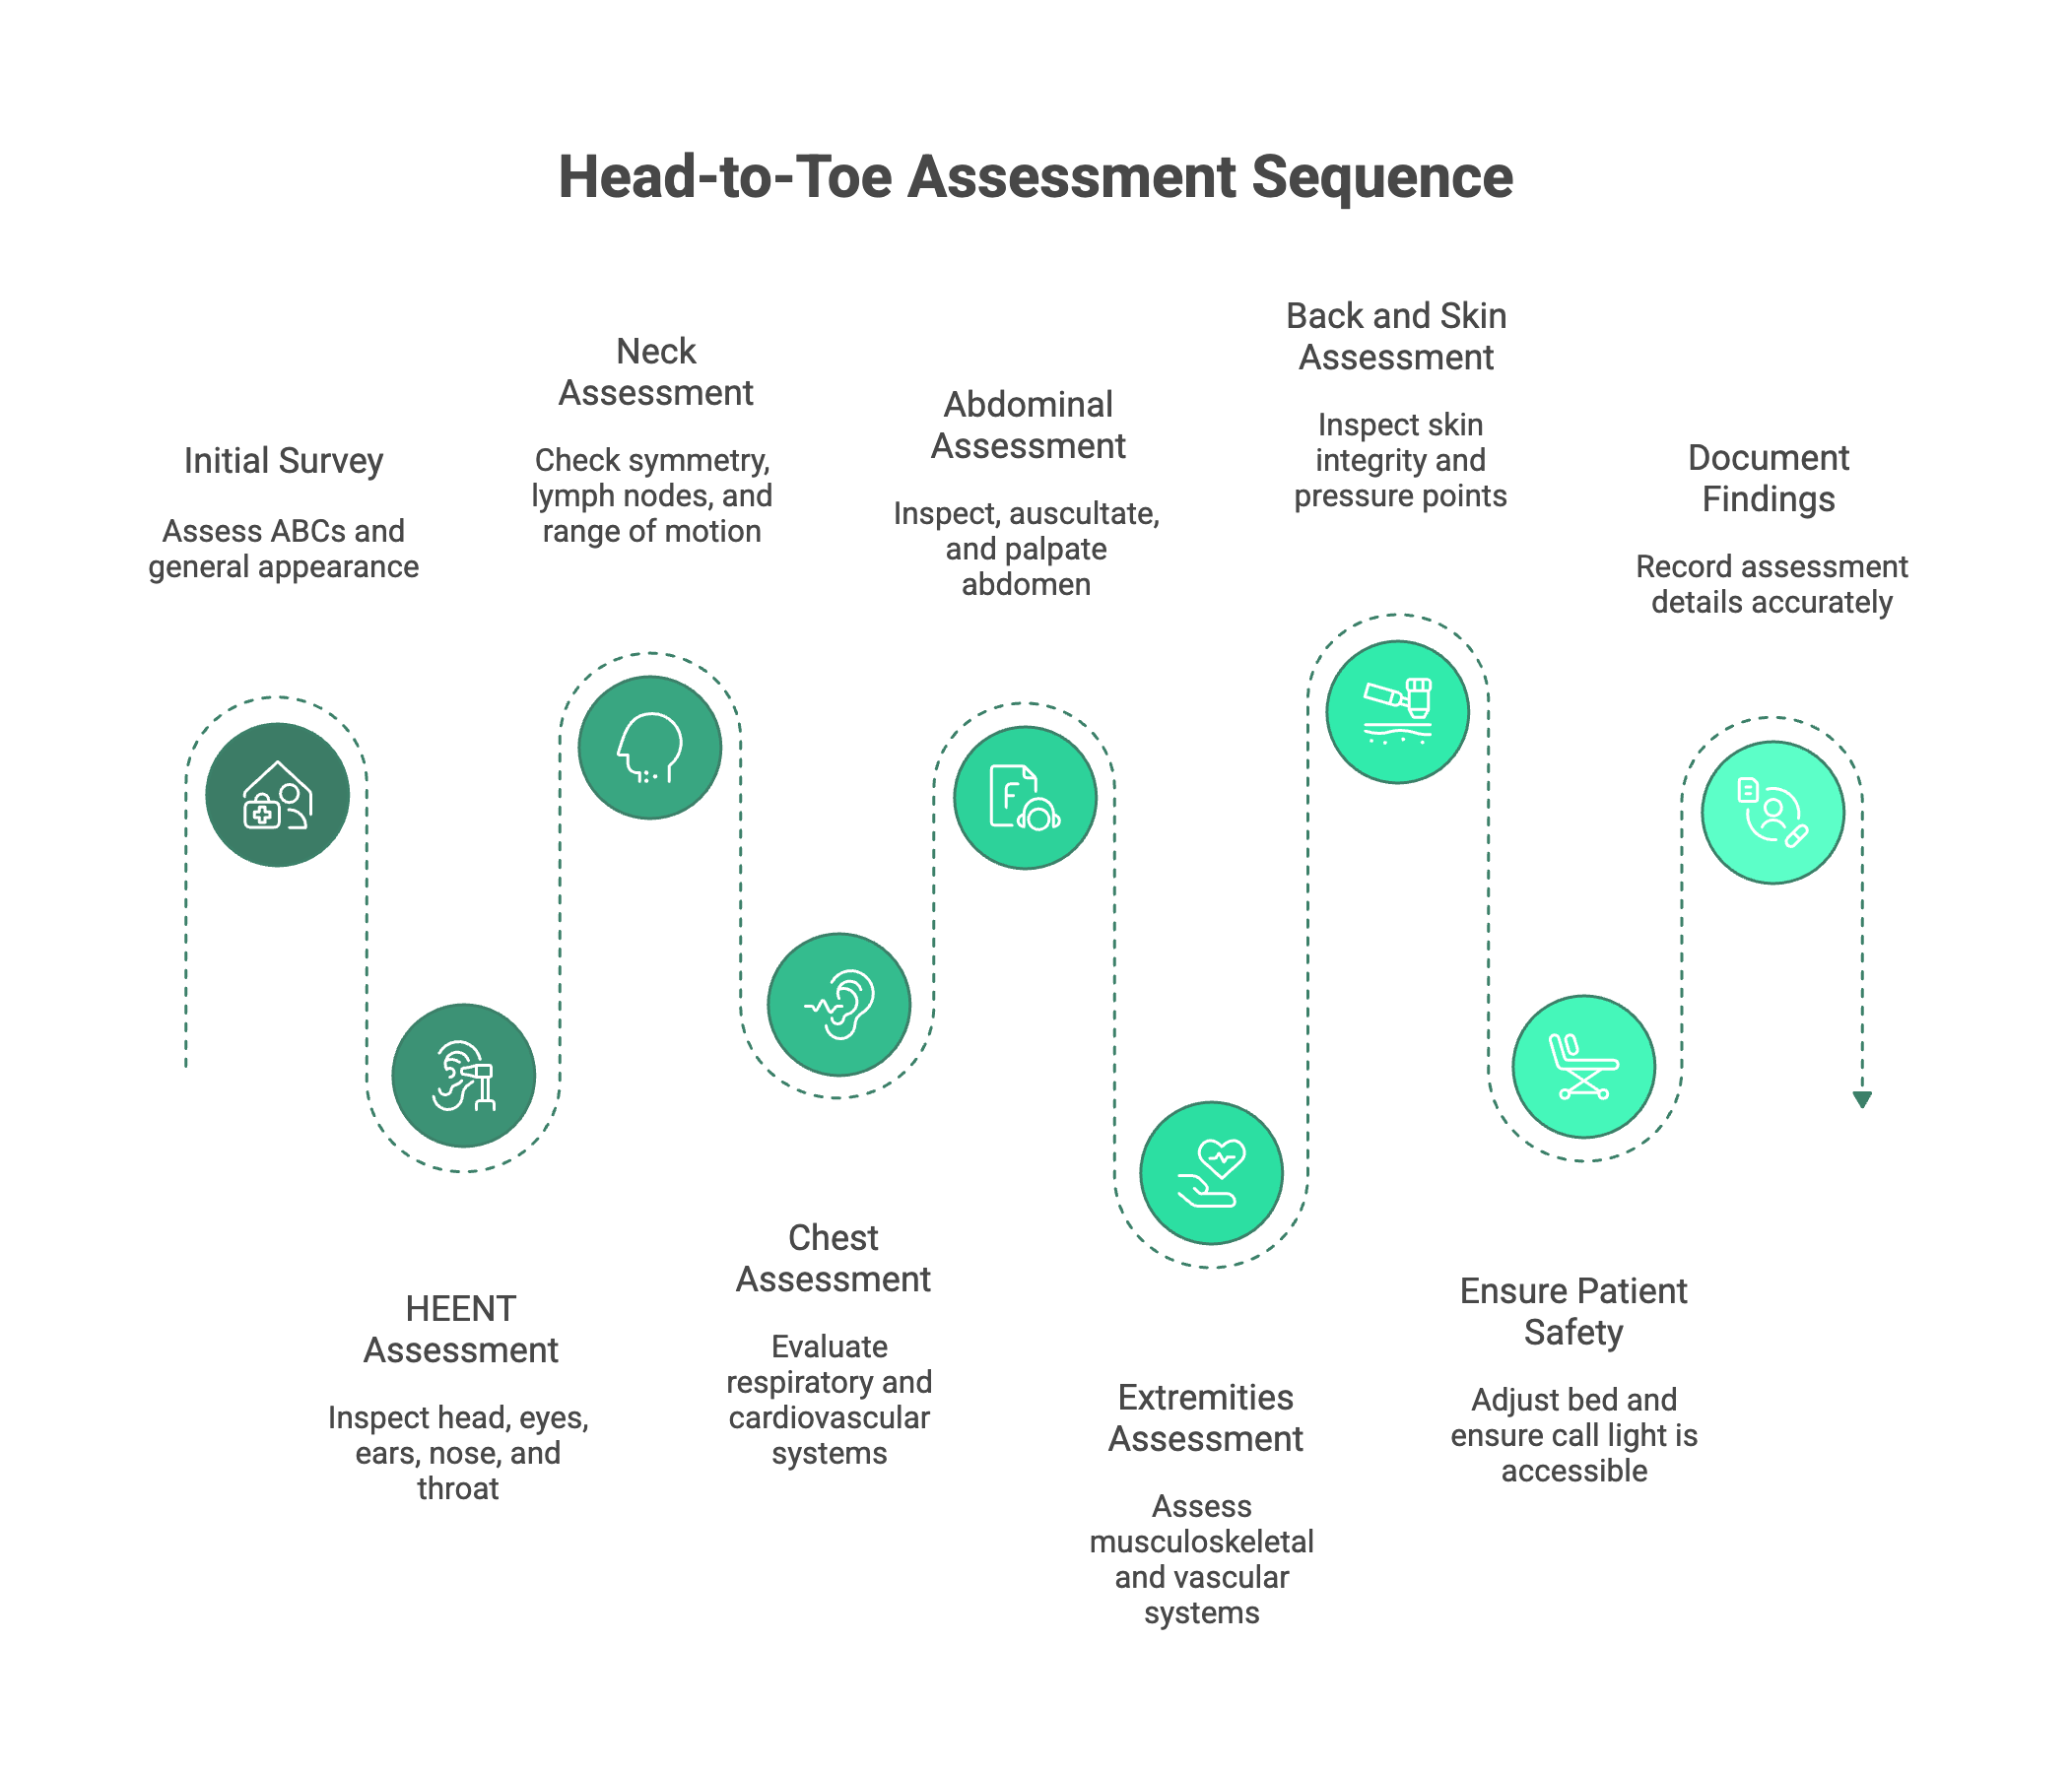
Part 1: The Initial Survey
This is your first impression and sets the stage for the entire assessment.
- ABCs & Consciousness: As you approach the bed, quickly assess: Is their Airway open? Are they Breathing effectively? Is their Circulation intact (good color)? Are they awake and responsive?
- General Survey (Nursing): This is a key part of the general survey nursing process. Observe their overall appearance.
- Level of Consciousness: Are they alert? Drowsy?
- Orientation: Ask them their name, where they are, the current date/year, and why they are here. This assesses if they are Alert and Oriented x4 (A&O x4).
- Mood and Affect: Do they seem calm, anxious, or flat?
- Hygiene and Grooming: Are they well-kept or disheveled? This can be a clue to their ability to care for themselves.
- Signs of Distress: Are they grimacing in pain, having trouble breathing, or showing anxiety?
- Vital Signs & Pain:
- Obtain a full set of vitals: Temperature, Blood Pressure, Heart Rate, Respiratory Rate, and Oxygen Saturation. Know the normal ranges, but also compare them to your patient’s baseline. source
- Assess for pain. If they report pain, use the PQRST mnemonic to investigate further:
- Provokes: What makes it better or worse?
- Quality: What does it feel like (sharp, dull, aching)?
- Radiates: Does it travel anywhere?
- Severity: On a scale of 0-10?
- Time: When did it start? Is it constant or intermittent?
Part 2: Head, Eyes, Ears, Nose, and Throat (HEENT)
Now we begin the hands-on part. The HEENT assessment is a detailed look at the head and facial structures.
- Head/Face:
- Inspect: Look at the head for size and shape. Check the face for symmetry (ask them to smile, frown, puff out their cheeks—this also tests Cranial Nerve VII). Inspect the scalp for lesions, dryness, or infestations.
- Palpate: Gently feel the cranium for any lumps or tenderness.
- Eyes:
- Inspect: Look at the sclera (should be white) and conjunctiva (should be pink and moist). Check for any drainage or redness.
- Assess: This is where PERRLA comes in: Pupils are Equal, Round, Reactive to Light, and Accommodate.
- Dim the lights. Check that pupils are the same size.
- Shine your penlight from the side into one eye and watch the pupil constrict. Repeat on the other side.
- Check for accommodation by having them look at a distant object, then at your finger held a few inches from their nose. Their pupils should constrict and converge.
- Assess the six cardinal fields of gaze by having them follow your finger in an “H” pattern without moving their head. This checks for intact cranial nerves III, IV, and VI.
- Ears:
- Inspect: Look at the external ear for redness, drainage, or lesions.
- Assess: Perform a whisper test to get a rough idea of their hearing acuity.
- Nose:
- Inspect: Check for symmetry and any visible drainage. Use your penlight to look for septum deviation or polyps.
- Assess: Check for patency by having them occlude one nostril at a time and breathe through the other.
- Mouth & Throat:
- Inspect: Put on gloves. Use your penlight to inspect the lips, oral mucosa, gums, and teeth for color, moisture, and any lesions. Check the tongue and under the tongue.
- Assess: Ask the patient to say “ahh” and watch for the uvula and soft palate to rise symmetrically (tests Cranial Nerves IX and X).
Part 3: Neck
- Inspect: Look for symmetry. Check for jugular vein distention (JVD), which can be a sign of fluid overload. The trachea should be midline.
- Palpate:
- Gently palpate the lymph nodes in the neck. They should be small, soft, and non-tender.
- Palpate the carotid arteries one at a time. Never press on both simultaneously, as this can cut off blood flow to the brain! Note the strength of the pulse.
- Assess:
- Check range of motion by asking the patient to look left, right, up, and down.
- Test shoulder shrug strength against resistance (tests Cranial Nerve XI), an important part of a complete neurological assessment.
Part 4: Chest (Respiratory & Cardiovascular)
This section combines the respiratory assessment and the cardiovascular assessment.
- Respiratory:
- Inspect: Observe the chest for symmetrical rise and fall. Note the rate, rhythm, and depth of breathing. Is there any use of accessory muscles, which would indicate labored breathing?
- Auscultate: This is critical. Listen to lung sounds on the front (anterior) and back (posterior) of the chest. Use a systematic “ladder” pattern, comparing sounds from side to side. Listen for a full inspiration and expiration at each spot. Note any abnormal (adventitious) sounds like crackles, wheezes, or rhonchi.
- Cardiovascular:
- Auscultate: Listen to heart sounds over all five key areas using the mnemonic “All People Enjoy Time Magazine”:
- Aortic (2nd intercostal space, right sternal border)
- Pulmonic (2nd intercostal space, left sternal border)
- Erb’s Point (3rd intercostal space, left sternal border)
- Tricuspid (4th intercostal space, left sternal border)
- Mitral (5th intercostal space, midclavicular line) - This is also the location of the apical pulse.
- Palpate: Feel for the apical pulse at the mitral area. If the heart rhythm is irregular, you should count the apical pulse for a full 60 seconds.
- Auscultate: Listen to heart sounds over all five key areas using the mnemonic “All People Enjoy Time Magazine”:
Part 5: Abdomen (Gastrointestinal & Genitourinary)
The abdominal assessment has one critical rule change in the sequence of techniques.
- CRITICAL ORDER: For the abdomen, the sequence is Inspect, Auscultate, Percuss, then Palpate. You must listen before you touch, because palpating can stimulate the bowels and create sounds that weren’t there before, leading to an inaccurate assessment.
- Inspect: Look at the contour of the abdomen (is it flat, rounded, distended?). Check for any scars, rashes, or visible pulsations.
- Auscultate: Listen for bowel sounds in all four quadrants (RUQ, LUQ, RLQ, LLQ). Are they normal, hyperactive, or hypoactive?
- Palpate: Use the pads of your fingers to perform light palpation in all four quadrants. Feel for any tenderness, rigidity, or obvious masses. Ask the patient if they are experiencing any pain before you begin, and save that area for last.
- Inquire: Ask about their last bowel movement (LBM) and if they are having any issues with urination, like pain or frequency.
Part 6: Extremities (Musculoskeletal & Peripheral Vascular)
Now, we move to the arms and legs. Always compare one side to the other.
- Upper & Lower Extremities:
- Inspect: Look at the skin for color, hair distribution, and any rashes or lesions. Check for symmetry and any signs of swelling (edema).
- Palpate: Feel the skin for temperature and moisture. Check for edema by pressing your thumb over the shin for a few seconds; if an indentation remains, it’s “pitting” edema.
- Assess Pulses: Palpate the peripheral pulses bilaterally: radial (wrist), brachial (inner elbow), dorsalis pedis (top of foot), and posterior tibial (behind the ankle). Grade their strength (e.g., 2+ is normal).
- Check Capillary Refill: Gently press on a fingernail or toenail until it blanches, then release. The color should return in less than 3 seconds.
- Assess Sensation: Have the patient close their eyes and test their ability to distinguish between sharp and dull sensations on their arms and legs.
- Assess Motor Strength:
- Upper: Check hand grips. Have them squeeze two of your fingers.
- Lower: Have them push their feet against your hands (plantar flexion) and pull their feet up against your hands (dorsiflexion).
Part 7: Back and Skin (Integumentary)
This is a great time to assess the back while you’re listening to posterior lung sounds.
- Inspect: While the patient is sitting up or rolled to their side, inspect the skin on their back, spine, and buttocks. Pay close attention to bony prominences like the sacrum (coccyx) and heels, as these are high-risk areas for pressure injuries.
- Assess Overall Skin: Throughout the entire assessment, you should be noting the overall skin integrity. Check skin turgor (a measure of hydration) by gently pinching the skin over the clavicle or forearm; it should snap back quickly.
Finishing the Assessment: Safety and Documentation
You’re almost done! But these final steps are just as important as the assessment itself. This completes the full picture of how to conduct a head to toe assessment.
- Ensure Patient Safety: Before you leave, make sure the patient is comfortable. Lower the bed to its lowest position, lock the wheels, put the side rails up (as appropriate), and ensure the call light and bedside table are within easy reach. This is often called the “4 P’s“: checking for Pain, Potty needs, Position, and Possessions.
- Document Everything: Now, go document your findings. Remember the golden rule of nursing: “If it wasn’t documented, it wasn’t done.” Be timely, accurate, and objective. Chart what you see, hear, and feel—not what you think. Your detailed notes provide a crucial legal record and a clear line of communication for the entire healthcare team.
Conclusion: From Novice to Confident Practitioner
The nursing head to toe assessment is a powerful skill. It’s your opportunity to use all of your senses to build a complete, holistic picture of your patient’s health. It may seem like a long list of steps at first, but with practice, it will become second nature—a fluid, logical process that you can perform with confidence and precision.
Remember, every expert was once a beginner. Keep practicing, be systematic, and never stop being curious. This foundational skill will empower you to detect problems early, intervene effectively, and provide the highest quality of care for your patients.
Ready to put it into practice? Consider creating your own pocket-sized head to toe assessment checklist and run through the steps with a classmate or family member. The more you do it, the more confident you will become. You’ve got this
Health Companion
trusted by
6Mpeople
Get clear medical guidance
on symptoms, medications, and lab reports.

download august